Oysters are more than simply a well-liked seafood dish; they also contribute significantly to the health of the world’s oceans.
Your dish is piled with shells after you eat this tasty seafood dish and have a great time that night, but what happens to them? Can you repurpose them?
Recycling these shells is crucial for maintaining a healthy ecology, future bivalve mollusk generations, and natural diversity.
How to reuse oyster shells It’s time to dive into this post to explore the most effective methods. Let’s get started!
Why Should You Reuse Oyster Shells?
Many people may not know that oyster seeds, or spat, need hard surfaces to attach to survive.
One of the ideal surfaces is old shells. Without these things, they may die before reaching full maturity.
For this reason, recycling used shells is essential to the recovery of oyster reefs and the growth of spats.
In places where these organisms have flourished unrestricted for decades, it’s merely another life cycle.
Due to a scarcity of shells and solid surfaces for spats to live on, the streams where these bivalve mollusks are collected are experiencing an oyster shortage.
For this reason, more and more campaigns appear to recycle and reuse shells to create a natural habitat for the next generations.
After people pick up used shells from recycling points, they wash and dry these pieces for many months before using them as natural habitats for spats.
If you have several oyster shells after a big meal, you may want to recycle them. Taking them to an official recycling point in your local region is the best.
The organization will do the restoration properly before releasing these shells into the waterways to avoid water pollution.
Besides recycling, you can use shells for many DIY projects. Let’s scroll down to discover!
How to Reuse Oyster Shells
After a big meal, you may get a large pile of oyster shells. Don’t throw them away! Instead, consider the following recommendations to reuse them!
Gardening
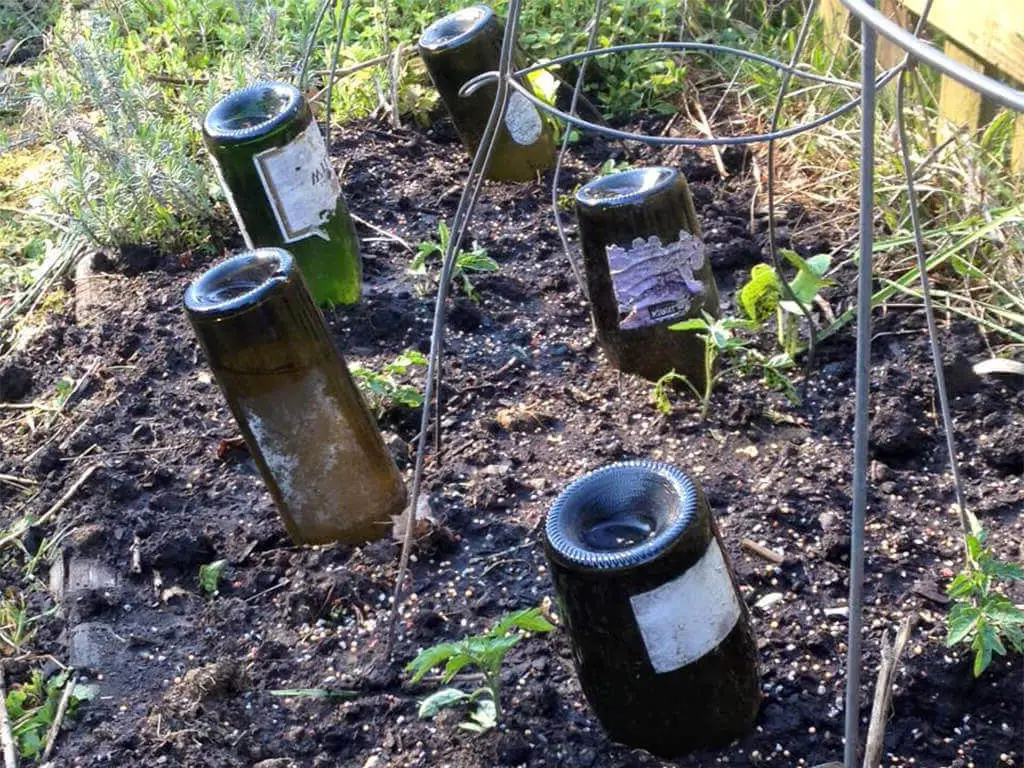
The main component of these shells is calcium carbonate, which may assist in moderating soil acidity or supply plants and microorganisms with calcium.
Calcium plays a role in stimulating plant root growth, helping to form compounds that make up cell membranes, and making plants stronger.
The shell’s texture minimizes soil compression, enhancing soil aeration. You may mulch, add shells to the soil, or utilize them in compost.
Here are some tips to make gardening compost from these leftover pieces:
- Before using the shells for gardening, remember to boil them to sterilize them.
- After that, you can crush them with a hammer and use them as an additive for soil in compost.
Shells of these bivalve mollusks naturally contain calcium and other elements, so composting them provides critical nutrients for your garden plants. This way, you create another life for these shells.

Making Poultry Feed
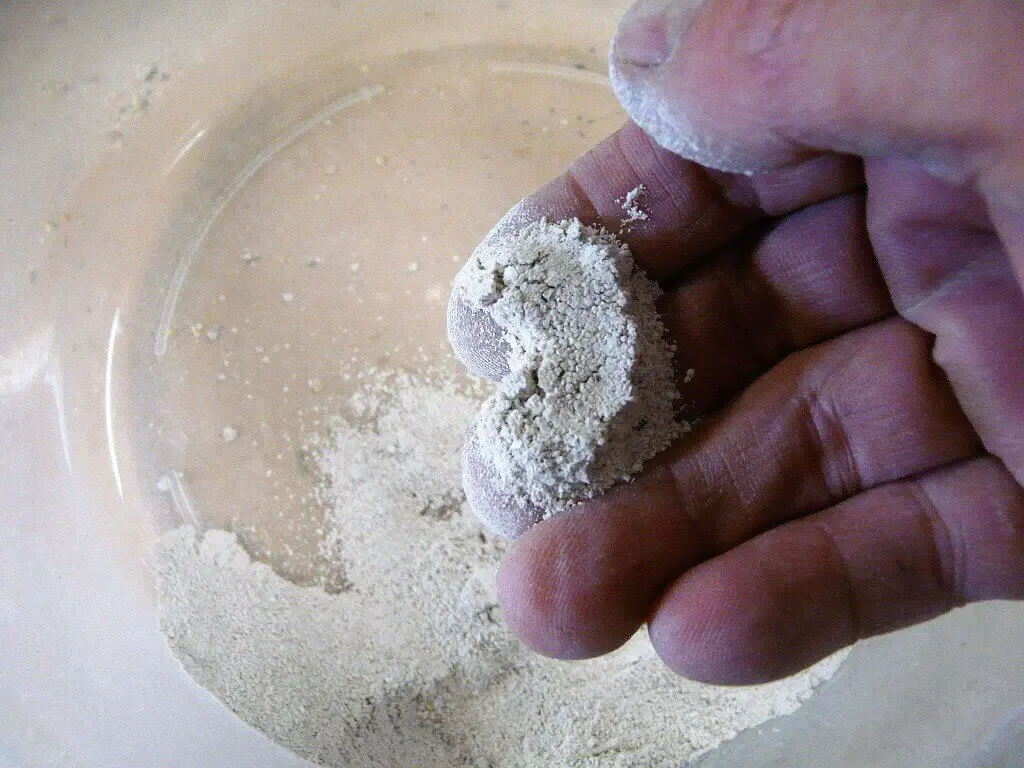
As shared earlier, oyster shells are a rich source of Calcium Carbonate. Thus, livestock and poultry farms often use powder from these pieces to make poultry feed.
The farmers feed this powder to their chickens, ducks, or dairy cows. Also, it is an excellent food source for laying hens.
The most crucial thing in making this powder is the drying process of the shells at temperatures above 800℉.
The shells will be completely free of bacteria at this temperature. After that, the workers transfer them to an industrial grinder for grinding.
When the powder is fine, they carry out the process of packaging the finished product.

Landscaping
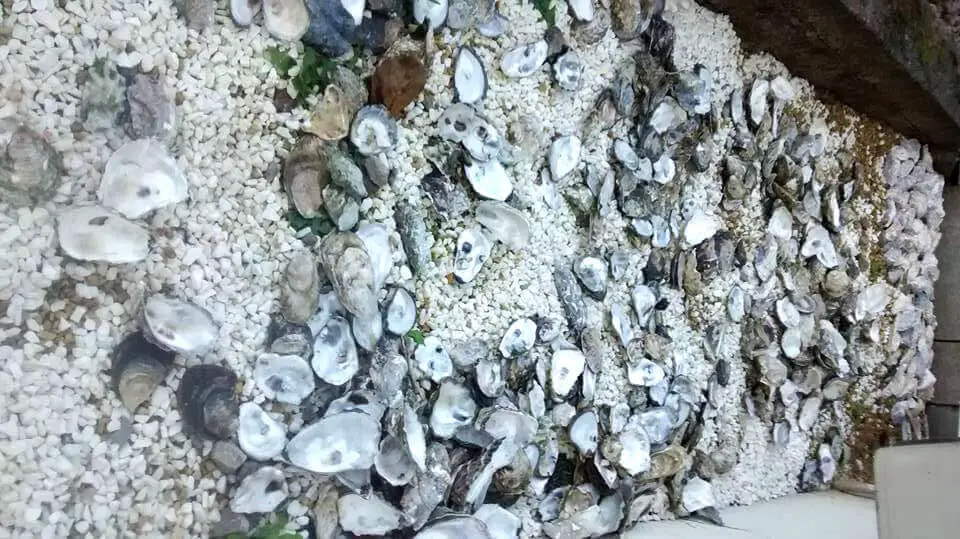
Some people are creative in using these shells to line their houses’ paths or driveways.
These accents may be a stunning, cost-effective, and environmentally friendly landscaping item that helps stop erosion.
This way, with just such easy-to-find materials like oyster shells, you can create custom and shaped tiles like a pro.
You can build a one-of-a-kind Mosaic path with leftover pieces to create a space full of bold personal impressions. Follow the simple steps below!
- Step 1: Prepare the materials: oyster shells, sand, cement, water sprayer, and broom.
- Step 2: Wash the shells to ensure they are clean before installing them on your garden path.
- Step 3: Draft the shells to define the layout.
- Step 4: Flatten the ground and pour a mixture of cement and dry sand down, leveling it evenly on the base.
- Step 5: Place the material on top of the cement. Remember to anvil flat the surface. Use your hands to shake the shells to check their grip and tightness gently.
- Step 6: Leave your path overnight. Then you sprinkle dry cement on the surface and use a brush to sweep the residues down the crevices.
- Step 7: Spray the area with water sparingly and let it sit for 30 to 60 minutes. Next, use a brush to clean and polish the surface.

Crafts
After cleaning, you may use the lovely oysters’ shells to create handicrafts, wreaths, ornaments, decorations, or jewelry.
The durable shells are excellent for many projects, and the glossy inner surface is ideal for painting.
For instance, it’s a good idea to paint the exterior of these shells to create a gorgeous handmade jewelry dish.
Moreover, you can string these pieces together to get wind chimes or arrange them into decorative wall accents for your house.
If you love tea lights, you can make DIY one-of-a-kind candles for your chilling corner by adding a wick and melted wax to the used shells.
Here are easy-to-follow guides to making candle holders from these shells:
- Step 1: Prepare the materials: oyster shells, spray paint, candle wax flakes, candle wicks, an old saucepan, and a glass jar.
- Step 2: Clean the oyster shells. Let them dry thoroughly.
- Step 3: Spay the paint with the color you want on the shell exterior.
- Step 4: Pour water into the shell. After that, transfer this water into a jar. This way, you can calculate the wax amount you will need.
- Step 5: Put the wax in a hot water bath and melt it to prevent fire risk. If you don’t have specialized heating equipment, you can put the wad in a glass jar and place it over a saucepan with simmering water.
- Step 6: When you notice the wax melt, you can add dye if you like. For a smelly candle, it’s a good idea to add some drops of essential oil.
- Step 7: Carefully pour the wax into the shell. To straighten the wick when the wax sets, use two skewers to hold it.
- Step 8: Allow enough time for the wax to set. It should take one or two hours, so be patient. Once it’s hard, use scissors to cut the wick to the size you want.
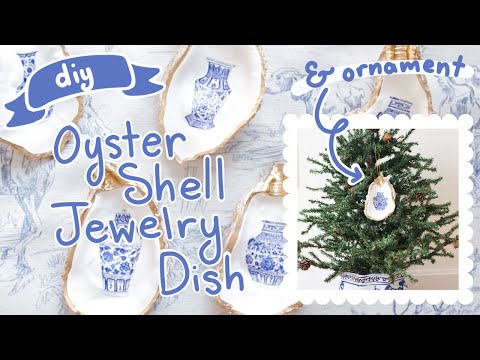
Besides, you can use these old pieces to make ornaments to decorate your living space. If you are really into these DIY projects, you can refer to this video:
Donating
Donating shells is another option to reuse these pieces. As shared earlier, several groups focus entirely on recovering shells, such as the Oyster Recovery Partnership.
After collecting shells from local people or restaurants, these organizations will clean and dry them before introducing them into the waterways.
You can also contact local restaurants and ask if they participate in shell recycling programs. Some organizations even offer pickup services, making it more convenient for you to donate your shells.
This way, you can offer a hard surface for young bivalve mollusks to live on until they are mature, which restores the reefs of this species. These reefs also help secure the coastline from storms and increase marine biodiversity.


How to Clean Oyster Shells for Recycling
After knowing the benefits of recycling and reusing old shells, you may want to repurpose them after having a delicious oyster party.
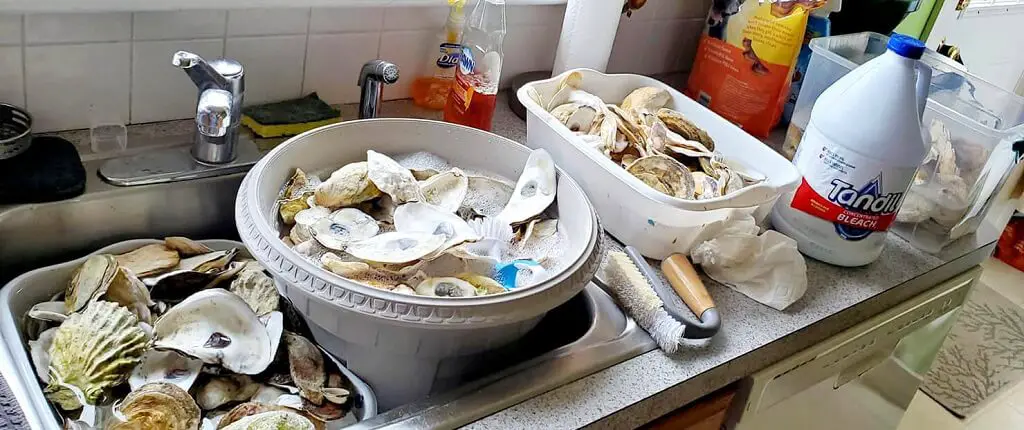
Before utilizing these pieces, remember to clean them. If you are unsure how to perform this task, follow these simple steps!
Preparations
- Scrub brush
- Soft cloths
- Water
- Dish detergent
- Bleach
- A bowl
- Gloves
Caution! Oyster shells have sharp edges and points. Handle with care
Step-by-Step Instructions
Step 1: Pour warm water into a bowl.
Step 2: Remove any sand or debris from the shells’ exterior by wetting the scrub brush and gently scrubbing.
Step 3: Remove any leftover meat before cleaning the interior. Carefully remove the muscles between the flesh and the shell.
Step 4: Scrub the interior using dish soap and warm water. Rinse thoroughly.
Step 5: If these pieces are not completely clean, pour warm water into a bowl and add some drops of bleach. Give the shells some time to soak.
Step 6: Take them out of the bleach water. Rinse thoroughly using clean water.
Step 7: Use soft clothes to dry them. Leave them dry completely before doing any DIY projects.

FAQs
Can You Reuse Oyster Shells for Cooking?
Making a serving plate out of leftover shells in cooking provides the guests with a hint that they’re eating seafood dishes. Before reusing oyster shells to cook, of course, you need to carefully clean and sterilize them first.
Can You Put Oysters Back in the Sea?
More accurately, you can put used shells back in the waterways. This way, spats have natural habitats to survive until they reach full maturity.
Can You Take Shells from the Beach?
The short answer is yes! It’s legal to take shells from the beach. Ensure these pieces are empty. Otherwise, you must put them back into the sea if something is alive inside the cover.
How Long Do Oyster Shells Last?
These things can last from three to ten years before showing degrading signs. They can last longer if you take care of them well after meals. Improve their lifespan by cleaning and drying them before use. Also, store them in a dry place.
What Do Burning Oyster Shells Do?
Burned shells created lime that is useful for whitewashing homes. However, you must be careful when doing this project as this chemical can cause blindness when in contact with your eyes.
Final Thoughts
This article has shown you how to clean and reuse oyster shells usefully: turning them into ornaments, making poultry feed, using them in composting, decorating your pathways, or donating to local organizations to restore the oyster reefs.
I hope you found this information useful, if you have further questions or other recycling ideas, feel free to comment below. Thanks for reading!



I was excited to uncover this web site. I want to to thank you for your time for this wonderful read!! I definitely appreciated every bit of it and I have you book-marked to look at new things in your site.
Thanks for the sensible critique. Me & my neighbor were just preparing to do some research on this. We got a grab a book from our area library but I think I learned more from this post. I am very glad to see such great information being shared freely out there.
helloI really like your writing so a lot share we keep up a correspondence extra approximately your post on AOL I need an expert in this house to unravel my problem May be that is you Taking a look ahead to see you
Your point of view caught my eye and was very interesting. Thanks. I have a question for you.