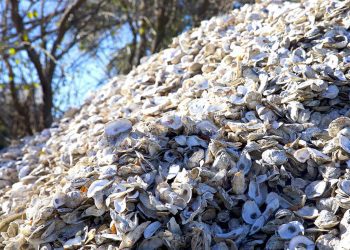
There are many concerns regarding the storage of oysters as well as other shellfish because they are sometimes eaten raw.
Fresh oysters have a clean, sweet taste and are safe for health. However, to keep oysters fresh, you need to have the right preservation methods.
With that in mind, you may wonder: How to store oysters before shucking? How to preserve the flavor and prevent the oysters from spoiling?
If you are wondering about these questions, discover the answers right in the article below.
Table of Contents
How to Store Oysters Before Shucking Properly
By applying the 3 easy storing methods below, your oysters will surely keep their freshness for a long time before shucking.
In a Shell
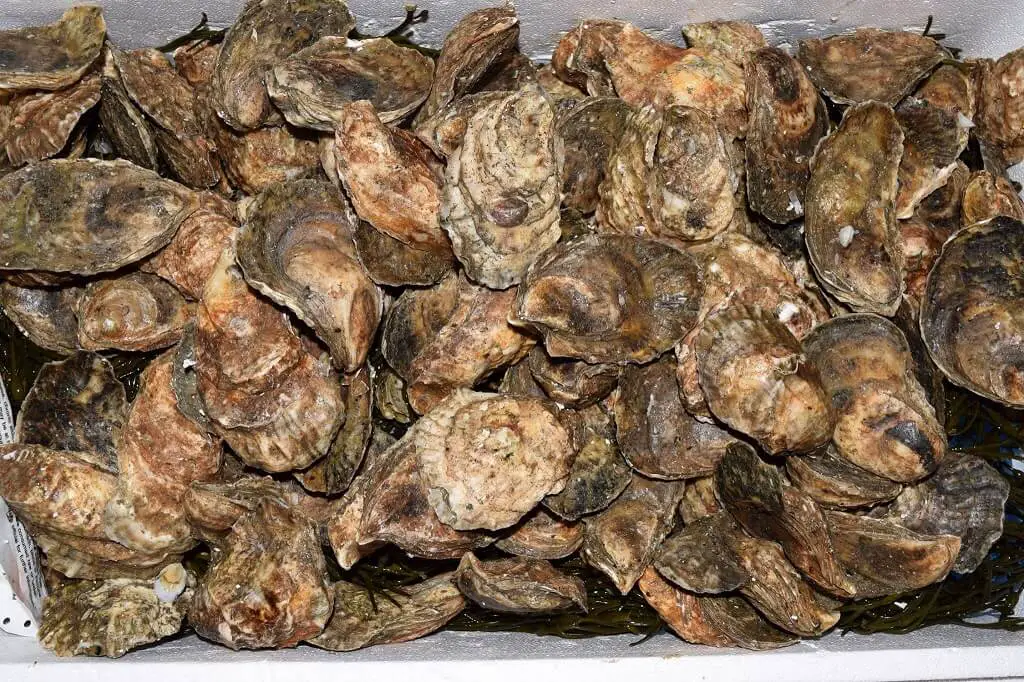

Storing oysters in their shell is an excellent idea to preserve their nutritional content and flavor.
To apply this preservation method, ensure your oysters are still in their shells, which have not been affected by moisture and outside temperature.
You can put the oysters in the shell and put them on the ice top as the fisherman used to do. Yet, it would help if you were careful not to expose oysters to fresh water for too long.
Make sure to change the water and ice regularly to maintain optimal humidity and prevent standing water. These manipulations will significantly increase the shelf life of oysters.
In the Fridge
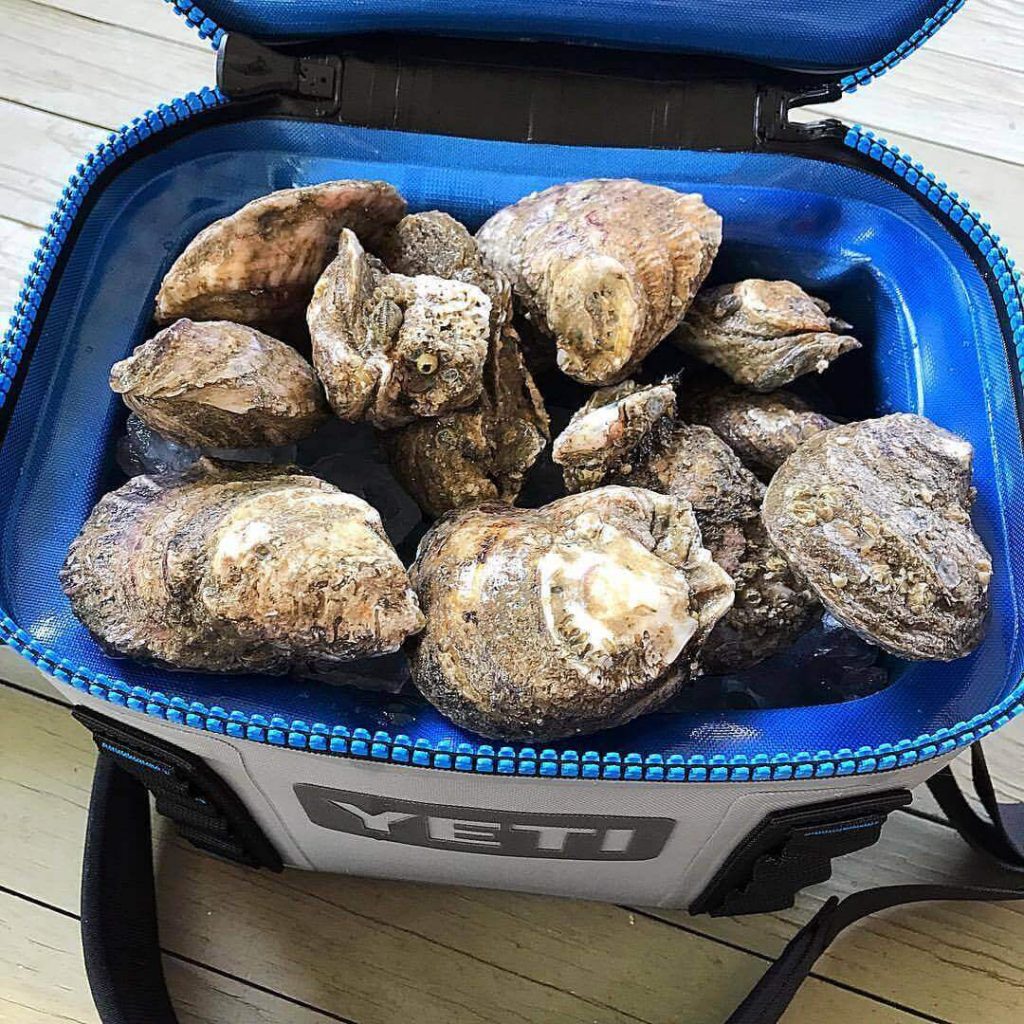

Storing oysters in the refrigerator is a fairly common method. Yet, a common mistake many people must correct is placing oysters in a sealed container.
A sealed container will help maintain a pleasant smell in your refrigerator. Yet, it inadvertently reduces the oxygen in the container and quickly kills the oysters.
To fix this problem, you can replace your sealed lid with a cloth towel.
A small tip you should apply is to moisten the cloth before placing it on the box. The cloth moisture will help the oysters not dry out and grow normally.
Submerge in Water
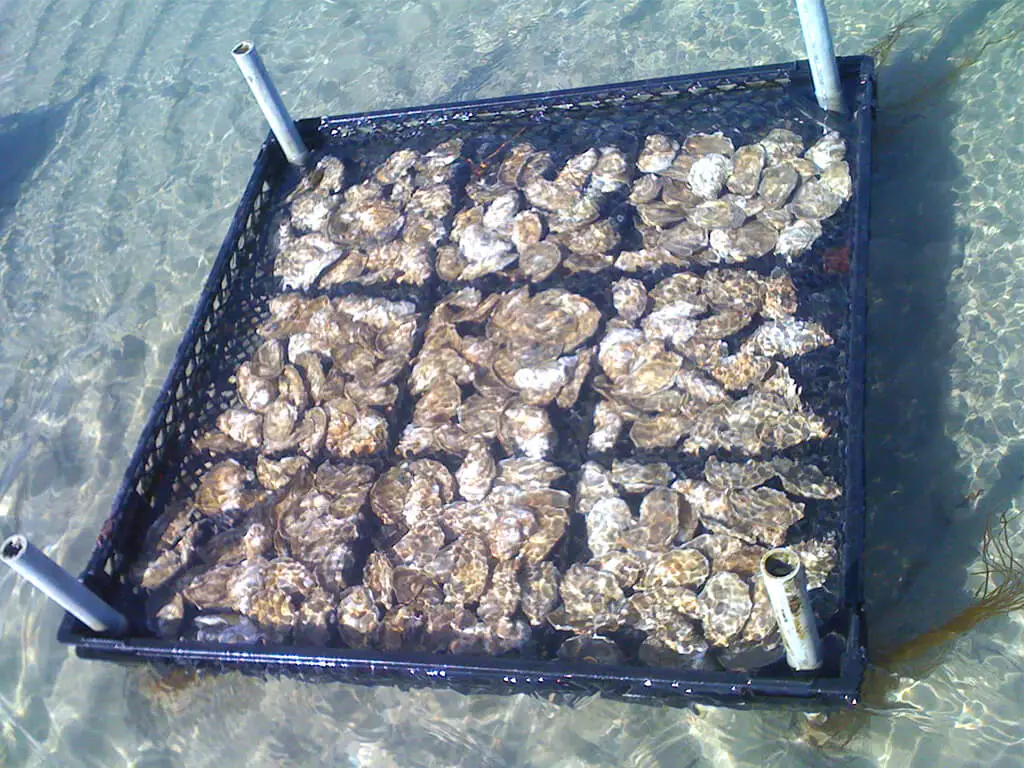

Keeping oysters in the natural environment is the method you should apply to preserve oysters for a long time.
You can store oysters in a container filled with water and allow them to be naturally cupped. Above the container, remember to place a damp cloth to circulate the air and provide moisture.
During storage using this method, you should avoid placing the container near cooling fans or devices that create movement in the air.
How Long Can You Store Oysters?
If you store them properly, oysters can live for 4-5 days without water.
You should store oysters in an area with high humidity and use them as soon as possible to enjoy their delicious flavor fully.
If you have prepared dishes from oysters but have yet to use them all, you should store them in the refrigerator. At refrigerator temperature, your dish can continue to be available for 2-3 days.
How Do You Know When an Oyster Goes Bad?
Rotten oysters won’t create the signature flavors you always love. It even negatively affects the user’s health. So, you need to consider the following signs.
Smell
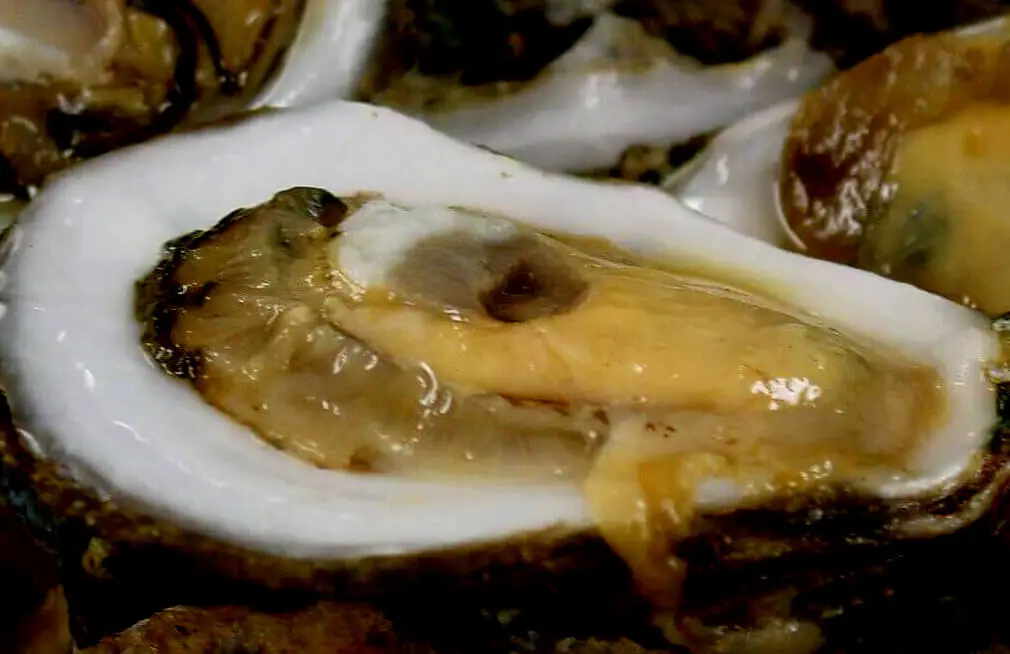

Oysters that are not fresh will have an unpleasant smell. Its rotten eggs signal that it has been dead for quite some time.
It would help if you did not use oysters with a strange smell to prepare seafood. In addition to health issues, rotten oysters can affect the flavor of your dishes.
Look for Open Shells
The easiest way to identify raw oysters is to look at their shells.
When oysters are raw, the shell will permanently close tightly because the muscles are still working correctly. Furthermore, as you know, only a few species of oysters can be eaten uncooked.
In contrast, with dead oysters, the cover will no longer be able to open and close as before.
Oysters with broken shells may still be alive. Yet, contaminants can enter these individuals through cracks. Hence, you will also face many risks when using this oyster type.
Check the Meat
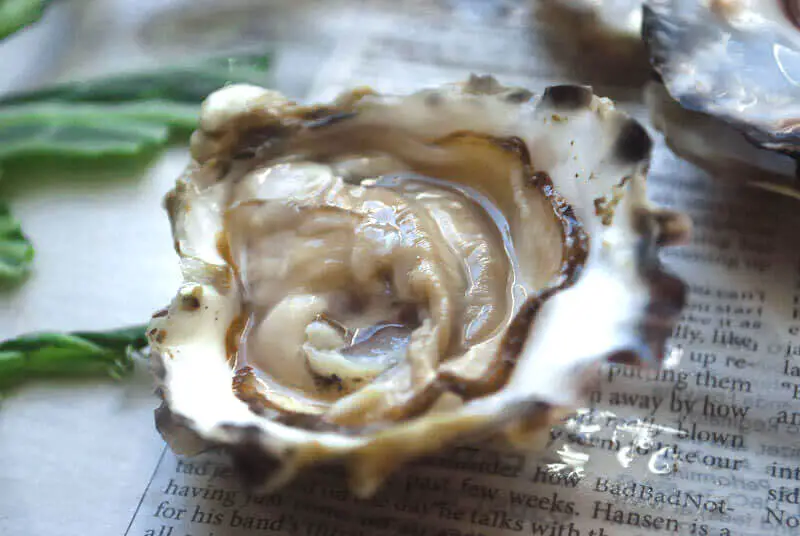

Oyster meat and juice also reflect its freshness. For freshly harvested oysters, the flesh will adhere firmly to the shell.
Fresh oyster meat is also quite attractive when plump with a specific luster. The gravy has an odor similar to seawater without any strange color or smell.
In contrast, with oysters that have died before or after harvest, the meat is strange, dry, and rotten. So, it has a milky white color and an unpleasant odor.
Can You Get Sick from Eating Old Oysters?
You can ultimately have health problems with old oysters. Its leading food is marine plants and organic sludge.
If it lives in polluted water, it can also absorb toxins from the water. So, its body may have dangerous toxins and harmful bacteria for your digestive health.
And those harvested too long contained more saxitoxin, brevetoxin, and Vibrio Vulnificus than fresh oysters. So, you can be poisoned with the above harmful substances even at minimal concentrations.
If you are allergic to oysters or have other health complications, you may need help from your doctor or healthcare professional.
How to Shuck Oysters
Now you know how to store oysters before shucking. Before using oysters to prepare traditional dishes, you must remove the oysters’ hard shells. Here are detailed instructions to help you peel oysters.
Preparations
You will need to prepare specialized kits. For starters, a small sharp knife with edges running along the flat edge will be the right choice.
In addition, you also need to prepare extra gloves to peel oysters.
Step-by-Step Guide
Removing the hard shell is relatively easy. If you are in doubt, refer to some of the guidelines below:
Step 1: Set Up a Workspace
Most homemakers choose to process oyster shells in the kitchen.
To set up a suitable and efficient disposal space, you will need to prepare additional kitchen towels, large bowls, and trash cans.
Your work area should be spacious, clean, and convenient for the process.
Step 2: Squeeze the Oyster into the Towel
Fold the kitchen napkin and place the oysters on top. The standard oyster placement is the left hinge if you are right-handed and vice versa.
Then fold the handkerchief and use the knife to deal with related problems.
Step 3: Place the Knife Head on the Hinge
The two steps above have introduced you to the tools to use, the standard settings. Yet, to remove the cover, you need to work with the hinge directly.
You need to control the knife force and be skillful when practicing. Secure the knife’s tip to the correct position for quick and precise oyster shell removal.
Step 4: Rotate and Pry
Once the knife is in the correct standing position, move it up and down and rotate it left and right. Every time you do a new technique, pay attention to the change in the shell.
Keep pushing hard on the hinge to find the ideal position for the case to pop out. If you need help finding where to apply the force, you can reposition the tip and practice a lot.
Step 5: Rotate the Blade
After the knife is in the exact position of the product opening, perform the rotation technique. At this time, the shell will open. It is a simple process, but it helps a lot in oyster handling.
Step 6: Clean Your Blade
Before peeling, you must have thoroughly cleaned your body before. But you also need to pay attention to your hygiene when processing oysters.
You won’t want the mud stuck in the hinges to affect the dish’s quality. Therefore, you must take care of things like cleaning the blade, or the final dish is relatively attractive and has a unique taste.
Step 7: Server the Muscle
After successfully prying the oyster’s shell, you must remove the flesh, water, and cover. And to separate the oyster meat from the shell, you’ll have to work the muscle that opens the oyster’s shell.
To remove the oyster meat, start from the hinge. Then use the knife to handle the hinges and the oyster cross-section. With the base near the hinge, you sweep your sharp knife through and cut decisively.
After completing the muscle-cutting step, you have successfully removed the top shell.
Step 8: Check Oysters
When you lose the top shell, you will be surprised at the oyster’s shape. It is quite moist with surrounding liquids. Fresh or unrefined oysters are quite appealing without unpleasant odors.
In addition to the flesh and smell, you should pay attention to the shell when examining oysters. Use a knife to remove any remaining covers near the hinge.
Step 9: Remove the Bottom Shell Piece
To remove the bottom shell, you must continue removing the muscle at the bottom of the cover.
This process is quite simple. You must skillfully insert the knife under the oyster and remove the muscle. Then you can strain the oysters onto a new plate.
How to Store Oysters after Shucking
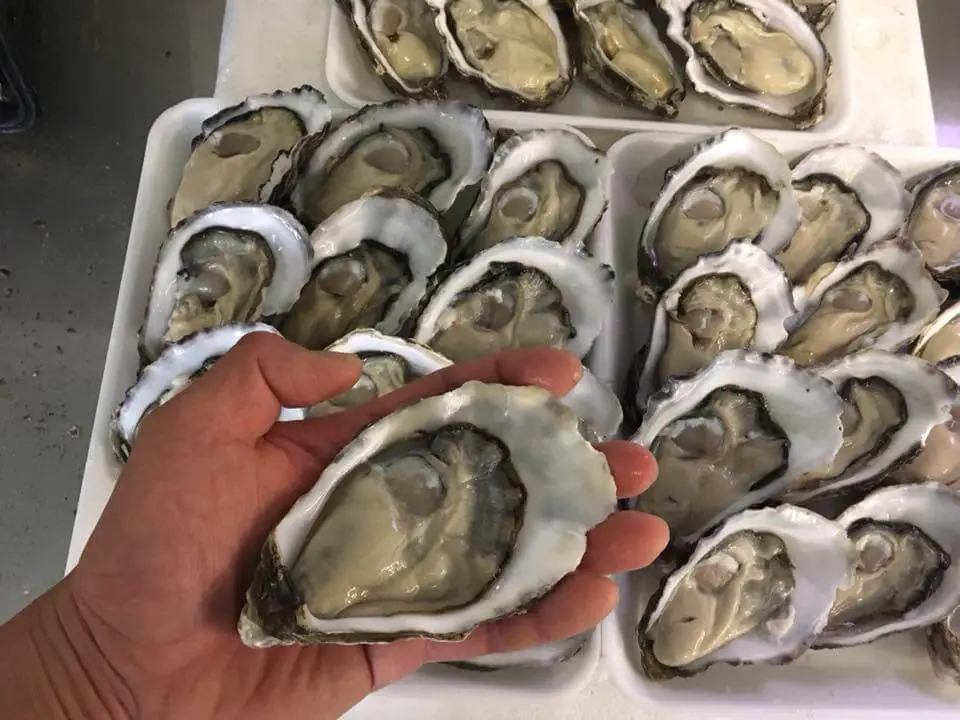

After removing the shell, if you do not process it into a dish, you need to take measures to preserve oyster meat.
You should wrap the oyster meat in a damp cloth and place it in the refrigerator. It would help if you did not store oysters on ice or in the freezer, as this will affect the freshness of the oysters.
Refrigeration is an effective method to preserve oysters after peeling. Yet, do not abuse this method for a long time. Instead, you should prepare oyster meat as soon as possible.
Conclusion
I have walked you through the steps on how to store oysters before shucking. We hope that this post has fully and satisfactorily answered your questions.
Efficient oyster preservation will always help your dish be delicious and greasy for a long time. It also eliminates the risk of harm to your health.
Do not hesitate to share this article if you find it useful. Thank you for reading!

